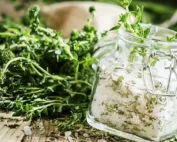
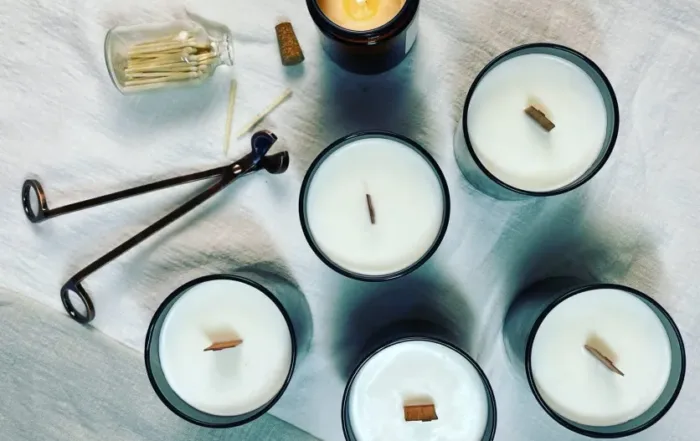
When you’re starting your trip to candle-making, you come in with a mindset that it’s easy to do. After all, it’s just wax, a wick, and the mold, right?
And then you start doing your research so now you’re thinking, “it’s not as easy as I thought it would be” after all.
The best thing about candles is you can always re-melt your wax melts and “reformulate” it by adding more of your raw materials and then experiment on how you can improve your candle.
Don’t forget to make notes.
Your candle journal will help you keep track of your progress, what works and what doesn’t work for you, the wax melts or formula you used per batch, as well as the results you get for each batch and combination as you test burn to see how well your candle lights. A few details to take note of are the dates and time, type and percentage of wax you used, type and percentage of fragrance oils, wick and glass size, the mold you used, and the temperature of when you added these extra materials.
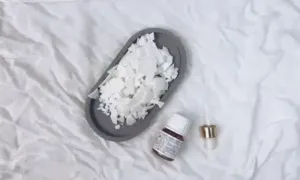
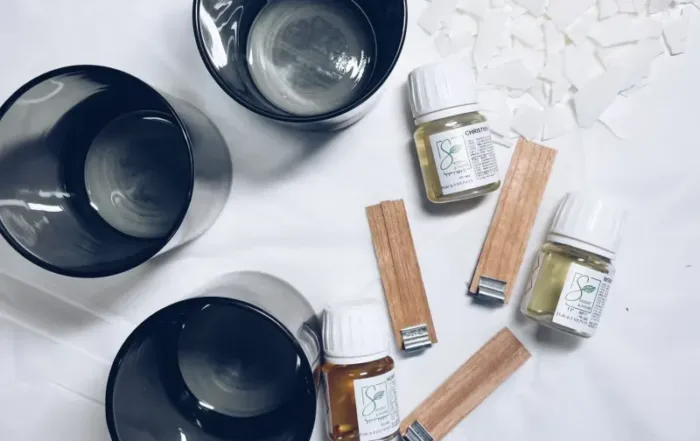
Test the wax.

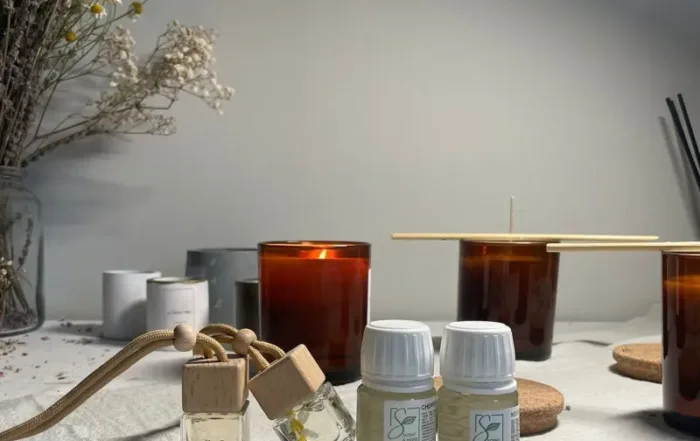
There are over 60 kinds of wax you can use to make your candles like soy wax or coconut wax, which means that there are hundreds of possible combinations you can use. Each of them has its advantages.
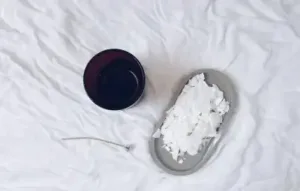
Choose right wicks.
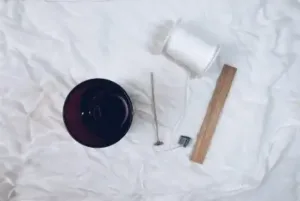
Different wicks can react differently to different wax melts. The wick can affect the life of your candle, your candle light, the safety of the candle, and can give you different burns so you need to match the wick to the type of candle you’re making. Some things to consider when you’re choosing a wick is the right wax, the candle’s size, the scent you’re using, and the color of the candle.
Poke your candles.
This is one of the many candle tricks that might sound weird but if you want to avoid under burning and ensure beautiful candle lights, you should make sure that there are no “air pockets” in your candle while you’re making them. When making a pillar or container candle, especially for those with a wider diameter and deeper height, take a skewer and poke holes before pouring your next layer. These are called relief holes which will get rid of air pockets that form in your candle as your wax cools down and shrinks. This helps the candle become more compact and lessens the risk of a tunneling and under burning candle.
Anchor your wicks.
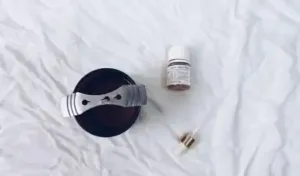
A very common mistake for a beginner candle maker is not anchoring your wick.
The metal tabs you can place at the end of your wick are only meant to keep the wick from being pulled out of the candle but that doesn’t guarantee it will stay in place. Anchor your wick at the top and the bottom of your mold. Here’s one of the good candle tricks, use putty or sticky tack to keep it in place and avoid leaks.
Use Blow dryers.
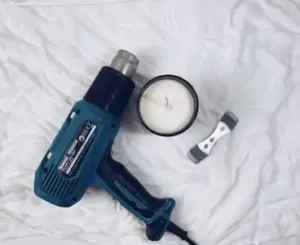
You can add this to your list of candle tips! There are times when the surface of your candle will come out with bubbles or uneven edges on top. You don’t have to scrape the top or redo the entire thing! Just turn on your blow dryer on the lowest setting and heat the top of your candle in circular motions. Let the heat of your blow dryer melt the top layer of your candle, let it cool!
our latest news
How To Get A Smooth Top On Soy Candles
In order to successfully make homemade candles, you want the pouring and hardening of wax to be as smooth and[...]
Diy Homemade Car Diffuser
Ready to make your first Homemade Car Diffuser ? With this video we’ll walk you through the process step-by-step! Things[...]
Candle Tips and Tricks for Making Candles
When you're starting your trip to candle-making, you come in with a mindset that it's easy to do. After all,[...]