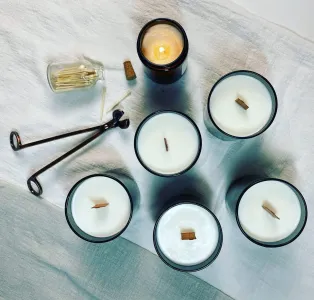
In order to successfully make homemade candles, you want the pouring and hardening of wax to be as smooth and even as possible. Issues such as sinking in the middle, as well as uneven or bumpy tops, can result from pouring under the wrong conditions.
What are rough candle tops?
Rough candle tops are a cosmetic matter particularly common in soy wax candles.
While rough tops don’t affect a candle’s performance, candle makers may find them aesthetically unappealing.
Before we look at ways to avoid this problem, let’s start by assessing the causes.
What causes rough candle tops?
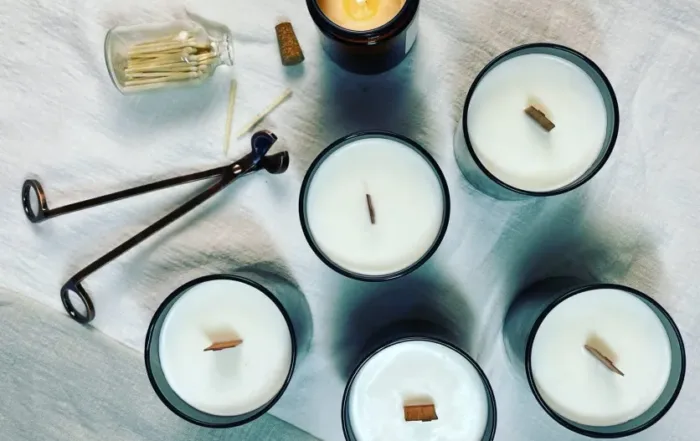
Under ideal making conditions, your candle’s ingredients combine thoroughly and the wax is free of air bubbles. The candle cools at a steady rate and tiny crystals form in the wax as it solidifies. When conditions are just right, these chemical and environmental interactions result in a candle with a smooth top.
But we make candles in the real world where ‘ideal’ isn’t always possible. And the following factors can cause lumpy tops and rough surfaces.
Temperature shifts
If a candle cools too quickly, or there is a big difference between the temperatures of wax and
the surrounding air, larger crystals may form in the wax and create a rough texture.
Air in the wax
Another cause of rough tops can be air trapped in the cooling wax. As the wax solidifies, air
bubbles may rise to the candle’s surface. This can cause air holes.
Ways to Get a Smooth Top
There are two strategies to achieving smooth candle tops: repair and prevention.
While repairing rough candle tops adds a step to the candle making process, the good news is this fix is quick and effective.
Preventing rough candle tops can be trickier and your mileage may vary. Be sure to take detailed notes of the variables and your observations to figure out what works best for your process.
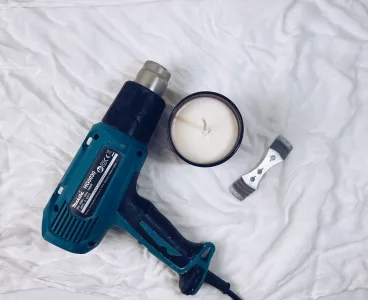
1. Repair rough candle tops with a heat gun
A few seconds of high heat from a heat gun will quickly melt the soy wax surface, level any
bumps and make for a smooth candle top.
Don’t have a heat gun? A hair dryer can work in a pinch. However, be aware the hair dryer’s
wider air stream may blow hot wax onto you or your work area.
2. Adjust the pour temperature
First, note of the wax manufacturer’s recommended pour temperature.
Should rough tops occur at that temperature, try pouring 2-3 degrees warmer.
3. Control the room temperature
Aim to make your candles in a temperature-controlled space between 20°C and 23°C.
A consistent ambient room temperature allows the candles to cool evenly.
4. Elevate the candles
Pour your candles on racks that are raised up from the work surface to encourage steady, even
cooling.
No racks? Setting your candle vessels on corrugated cardboard can also work. The pockets in the
cardboard allow air circulation under the candles.
5. Preheat your vessels
Warm containers to 32°-37°C before pouring.
This lessens the temperature difference between the wax and its surroundings and allows
candles to cool more evenly.
6. Minimize the presence of air
Stir the wax gently when adding fragrance to minimize air bubbles.
By the same token, pour the wax slowly into the vessels to reduce possible air bubbles.
Whether you prefer using a heat gun, it’s completely possible to make a great looking soy candle. We hope these methods help you with your next batch of candles!
our latest news
How To Get A Smooth Top On Soy Candles
In order to successfully make homemade candles, you want the pouring and hardening of wax to be as smooth and[...]
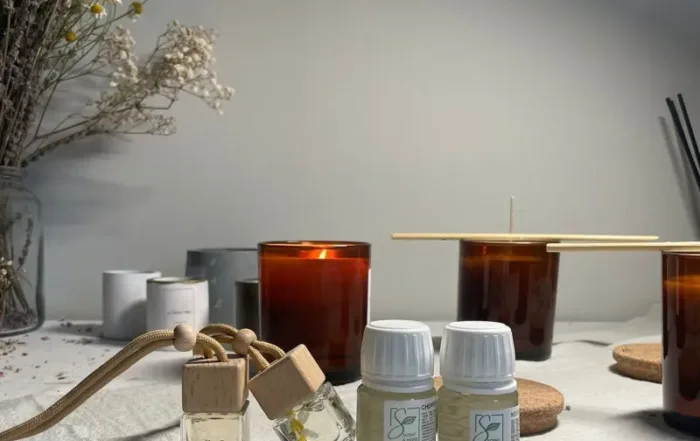
Diy Homemade Car Diffuser
Ready to make your first Homemade Car Diffuser ? With this video we’ll walk you through the process step-by-step! Things[...]
Candle Tips and Tricks for Making Candles
When you're starting your trip to candle-making, you come in with a mindset that it's easy to do. After all,[...]